The main tasking screen looks like this and always starts out in the ‘Main’ task list. The screen is expandable and can stretch as large as the desktop screen. Each task is a line on the main screen:

Double clicking any individual line will bring up the full task details:
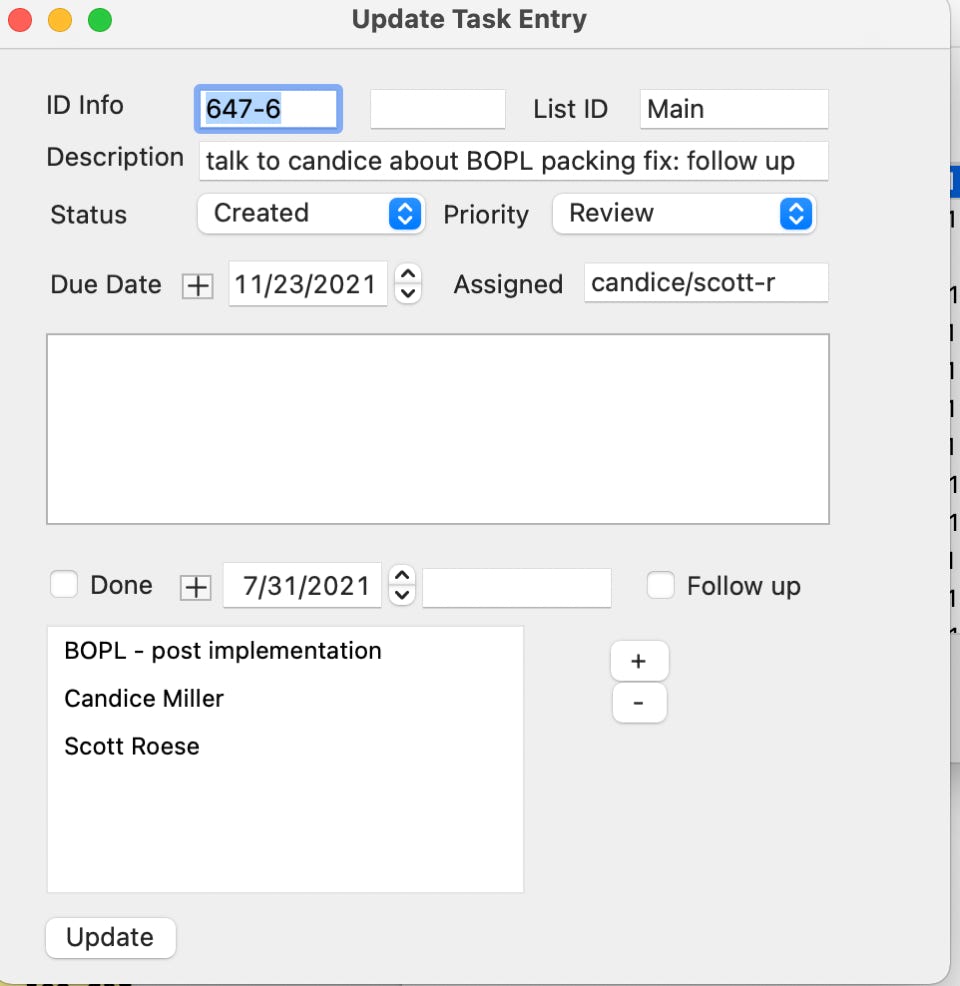
Here you can see the basic parts of each task:
ID Info - two field which can hold however you would like to identify the task. For example, the first could be a client number and the second could be some sort of individual task identifier. You don’t need to use an identifier but it can be used to tie the task to a Kanban board or TSF issue number or whatever makes sense to you. Both ID fields are tied together with a dash and show up in the main ID column.
List ID is the identified of the list that the task belongs to. The list ID is case insensitive so ‘Main' is the same as ‘main’ which is the same as ‘MAIN’, etc…
The description field is a free format field which describes what the task actually is.
Status and Priority are selected from a drop down list. The product ships with a small number of pre-determined Status and Priority entries, you can add more or completely dispense with the entries shipped with the system if you like. This list shows a completely custom Status list:
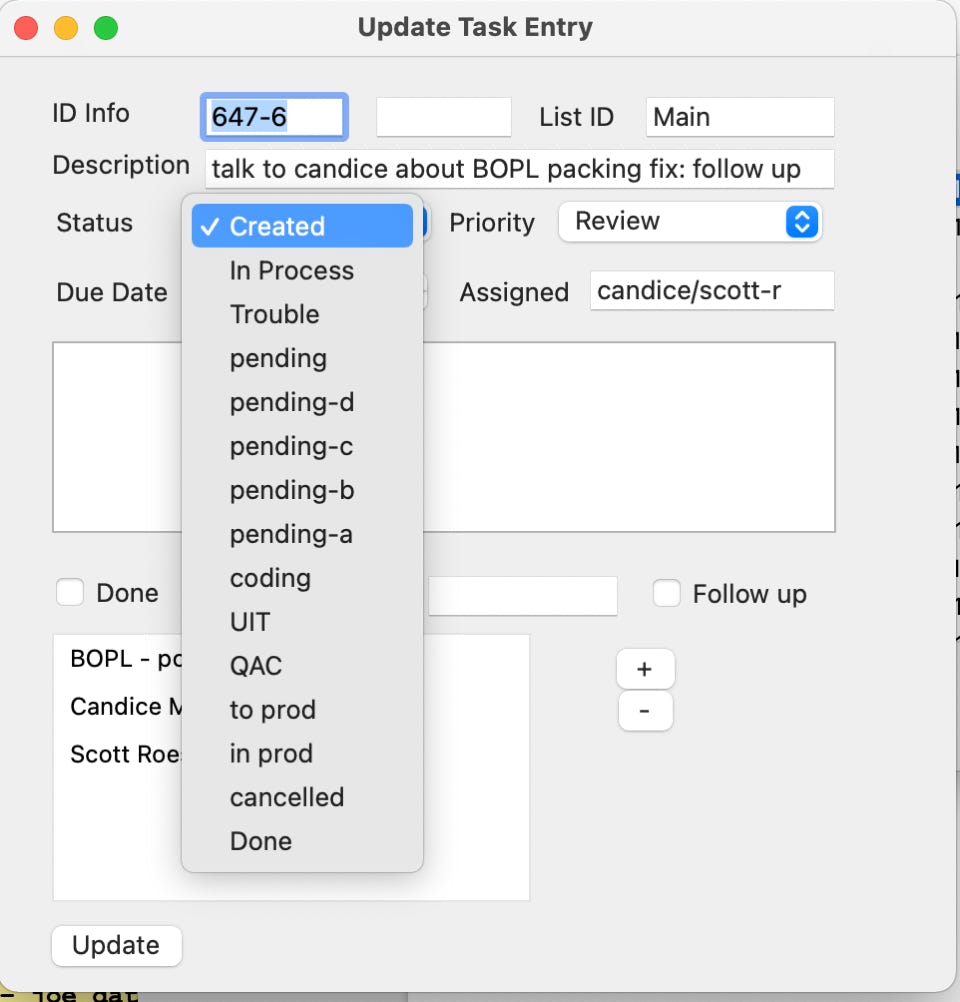
Notice that this is NOT in alphabetical order and you can determine the sort order of these various Status entries according to how you set them up. See the supplementary data section for more details.
Likewise this works for Priority as well:
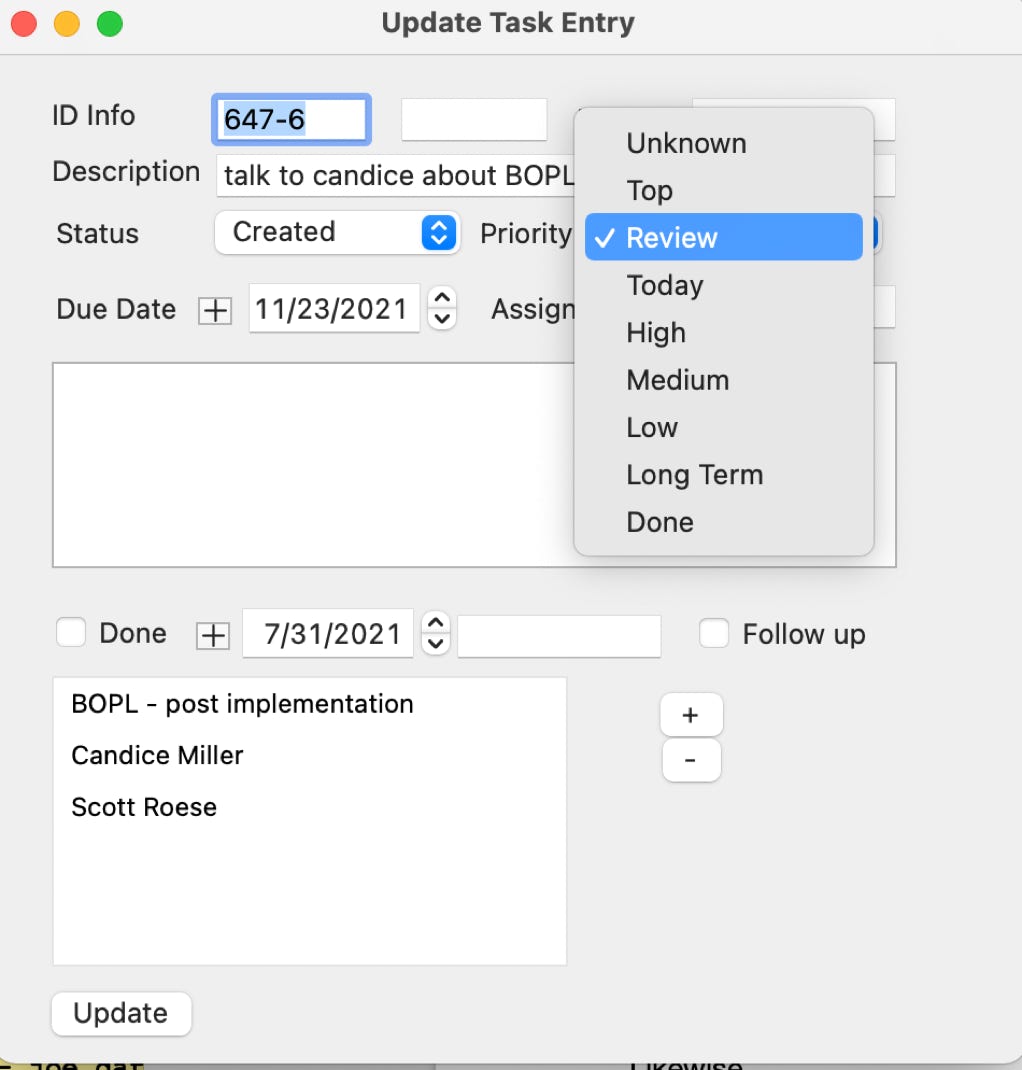
The product ships with High, Medium, and Low and this list show several user added options. Notice that this is NOT in alphabetical order and you can determine the sort order of these various Priority entries.
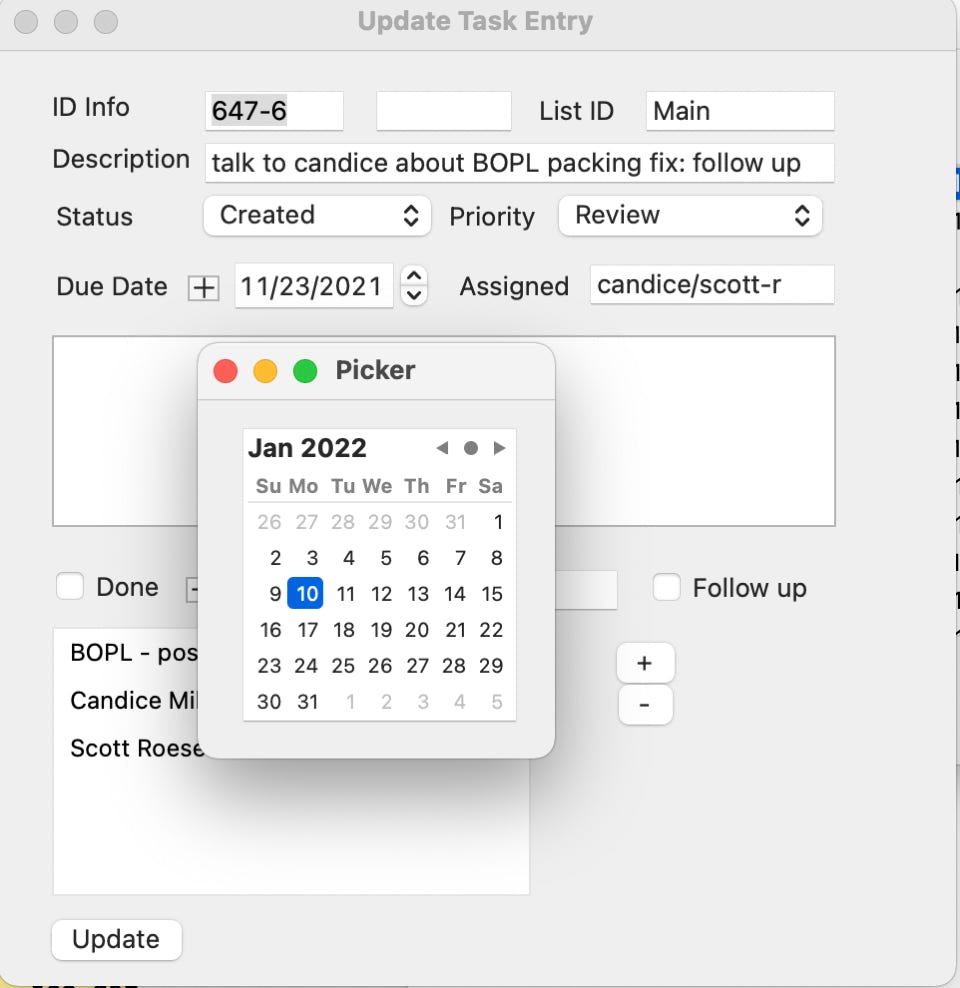
The Due Date is the date you want the task to display on your main screen depending on the screening options chosen. There is a date picker box which can be activated by clicking on the plus sign next to the date and selecting a date from the picker.
Assigned is a free form field which is intended for a note about whom the task concerns but really can contain whatever you like. This field is included on searches.
The Note field is a completely text based field which can contain anything you like. The field is included searches
Clicking the Done click box marks the task as competed and pre-fills the Done Date and Done Time with the date/time when the Done click box was clicked on. It can be reversed and the done date/time will not be recorded when the task is saved. The Done Date records the date that the task is completed. Also there is a Done time can be used. The format for the time is a 24 hrs time entry (10:00 or 23:15). It will also accept a two digit time which will expand out with zero minutes). These fields will be used in sorting completed tasks on various screen queries.
The Follow Up click box is an interesting feature. You can click the Done click box on a task and then generated a follow up task which can be future (or present) dated to show up in the future.
At the bottom of the task, there is the Tag entry box. Use the plus and minus buttons to add or delete tags on the task. Task tags are user defined and can be added on the fly. More details outlined in the task tag section.