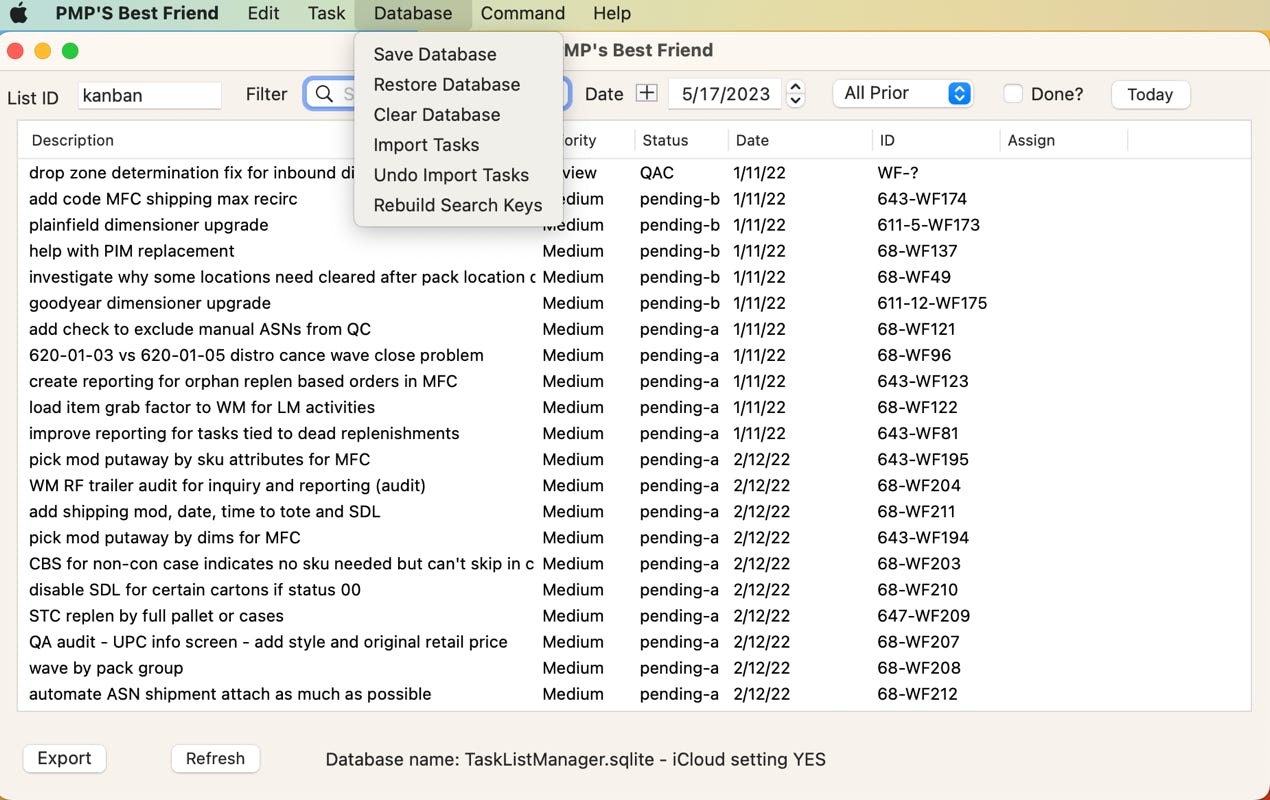
Under the ‘Database’ tab of the main menu there are a set of function which are for saving, restoring, and importing large amounts of tasks at once.
SAVE DATABASE
The ‘Save Database’ function lets you save a copy of the current database to the disk so that it can be used as a backup and restored if necessary. This is also an automated function which can be activated to do this (see the preferences tab) but this would force a manual save.
When this option is taken, a ‘Save Database’ setup box pops up on the screen:
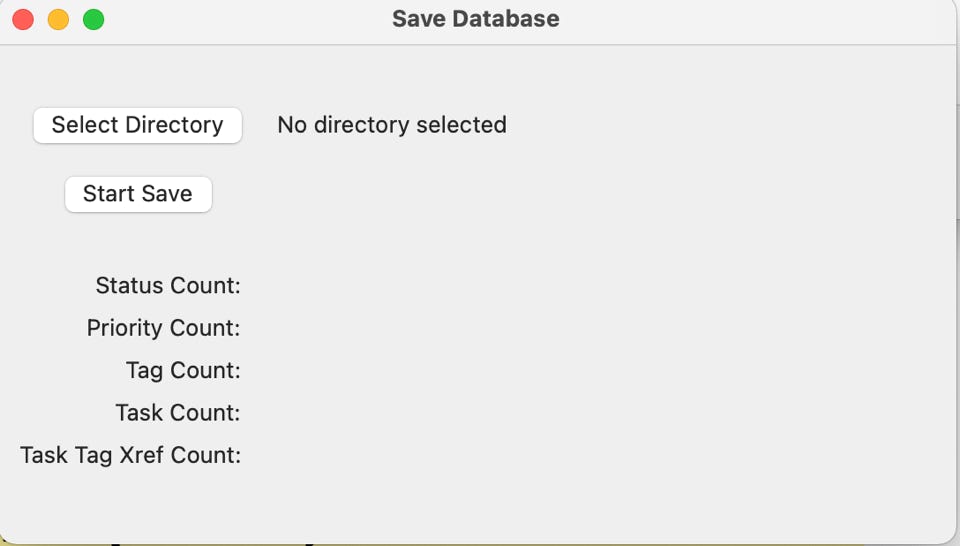
Use the ‘Select Directory’ button to pop up a finder screen which you can use to select a target output directory. The file name will be ‘TMS’ plus a timestamp of YYYYMMDDHHMMSS.
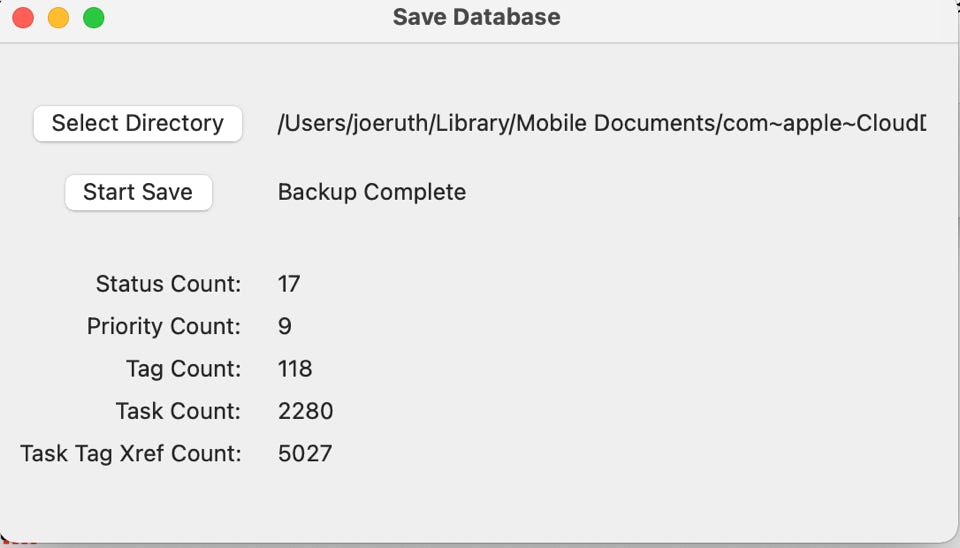
The save will not start unless these two fields are picked. Once they are and you press ‘Start Save’, the backup will work through the various parts of the database and give you an incrementing count as the backup progresses. A backup completion message will be displayed when the backup finishes.
To get an idea of how long this should take, less than 5000 tasks will back up in less than 30 seconds. More tasks will take longer.
The following is a screen shot of a successful save.
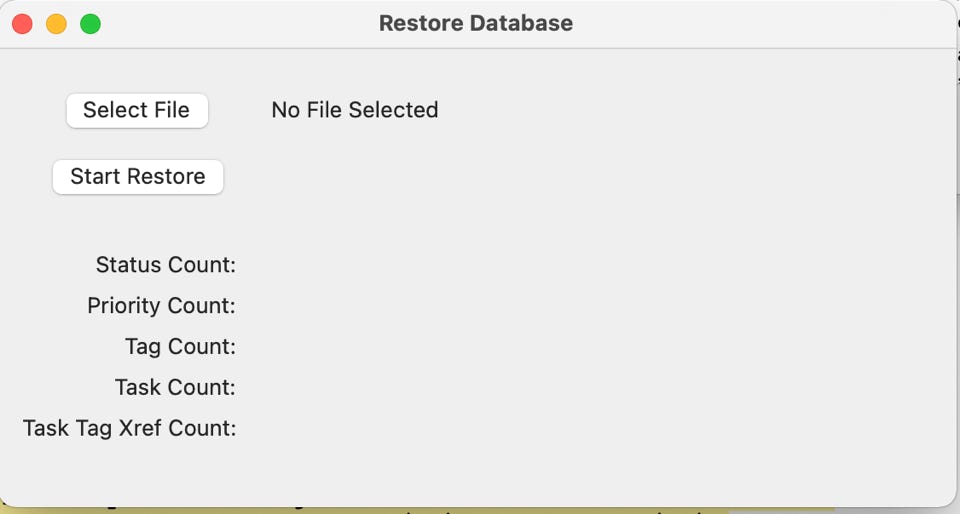
RESTORE DATABASE
The oppose of the ‘Save Database’ function is the ‘Restore Database’ function. When you take this menu option, the following option will be displayed.
Select the file to restore (output of a previous save) via the ‘Select File’ button and then press the ‘Start Restore’ button. The database will be cleared and then the data in the save file will be restored. Counts will be generated on the screen and a final completion messages tells you when the clear process is completed.
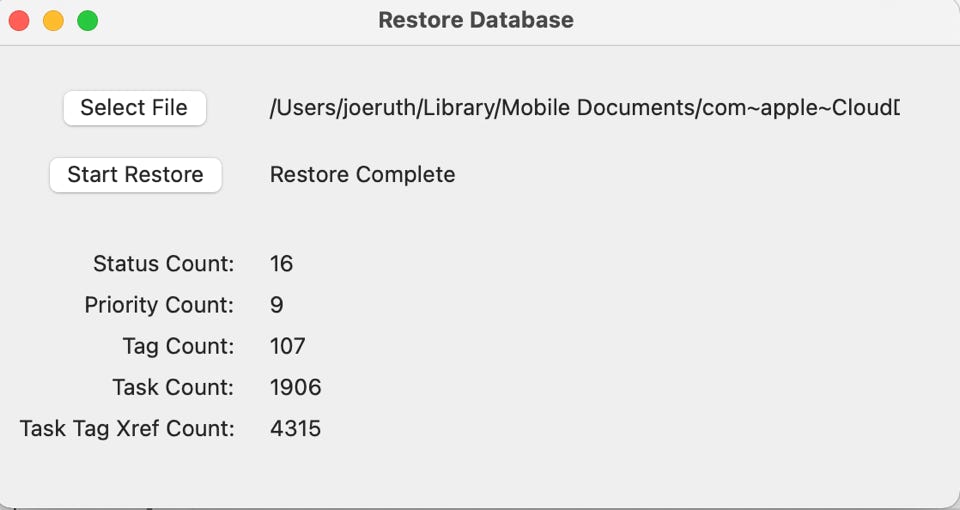
One note is that the cross field search indexes will NOT be reloaded but will need to be regenerated. This option is described further on this page.
Also, the main display screen will not show tasks after the import is completed UNTIL you either restart the app or press the Refresh button.
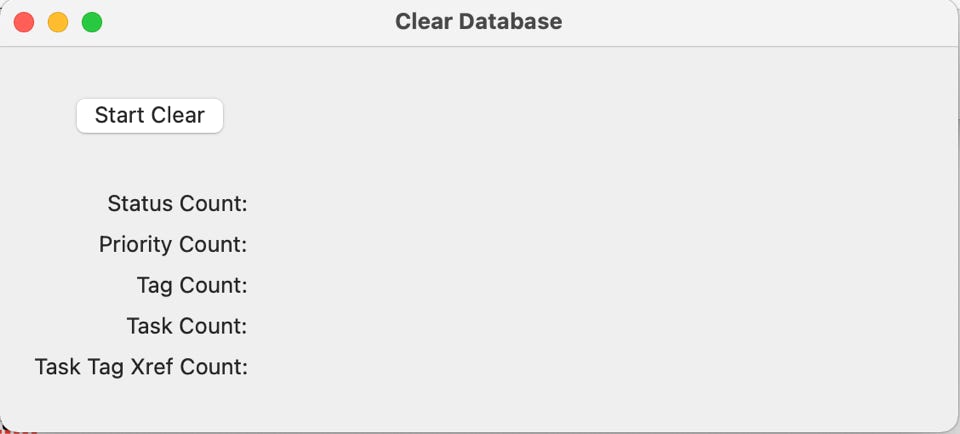
CLEAR DATABASE
The next option on the list is the ‘Clear Database’ function. Taking this function will show the following screen:
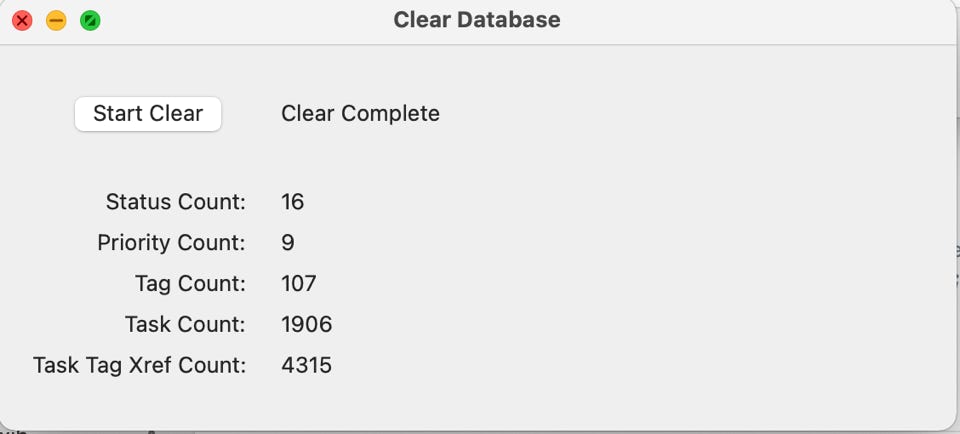
Pressing the ‘Start Clear’ button will start the clear process. Counts will be generated on the screen and a final completion messages tells you when the clear process is completed.
IMPORT TASKS
The next option on the list is the ‘Import Tasks’ function. Taking this function will show the following screen:
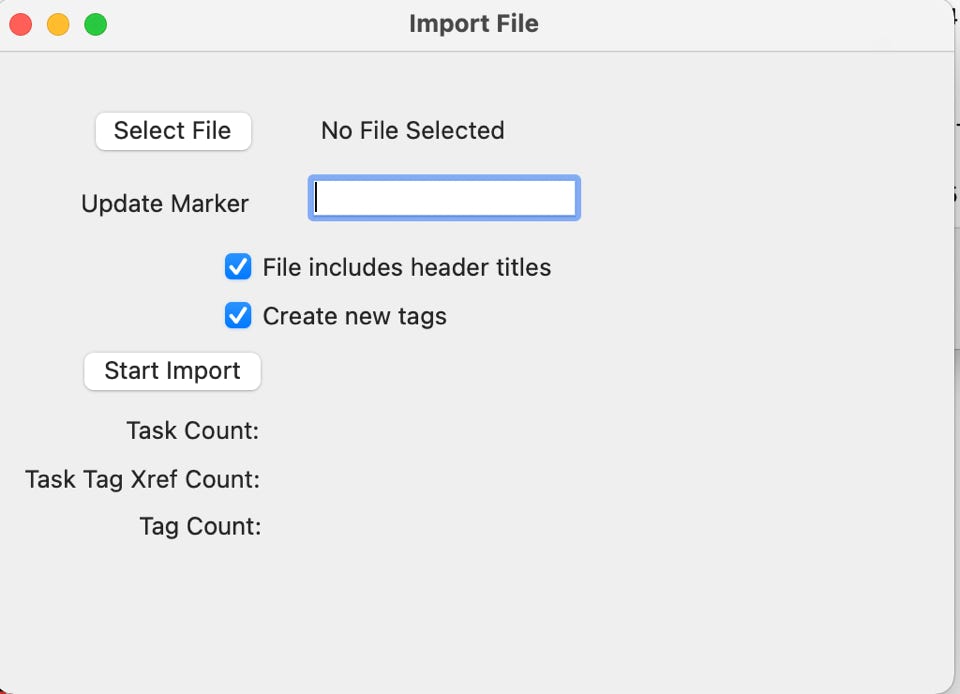
This option allows you to fill in a group of tasks into a CSV file. Of course, you will need to be aware of formatting restrictions with loose commas but other than that you can just fill this out and upload it.
A sample of that spreadsheet is on the downloads page and it can be used as a template. Here is a what that template looks like on the inside as filled with some sample data:
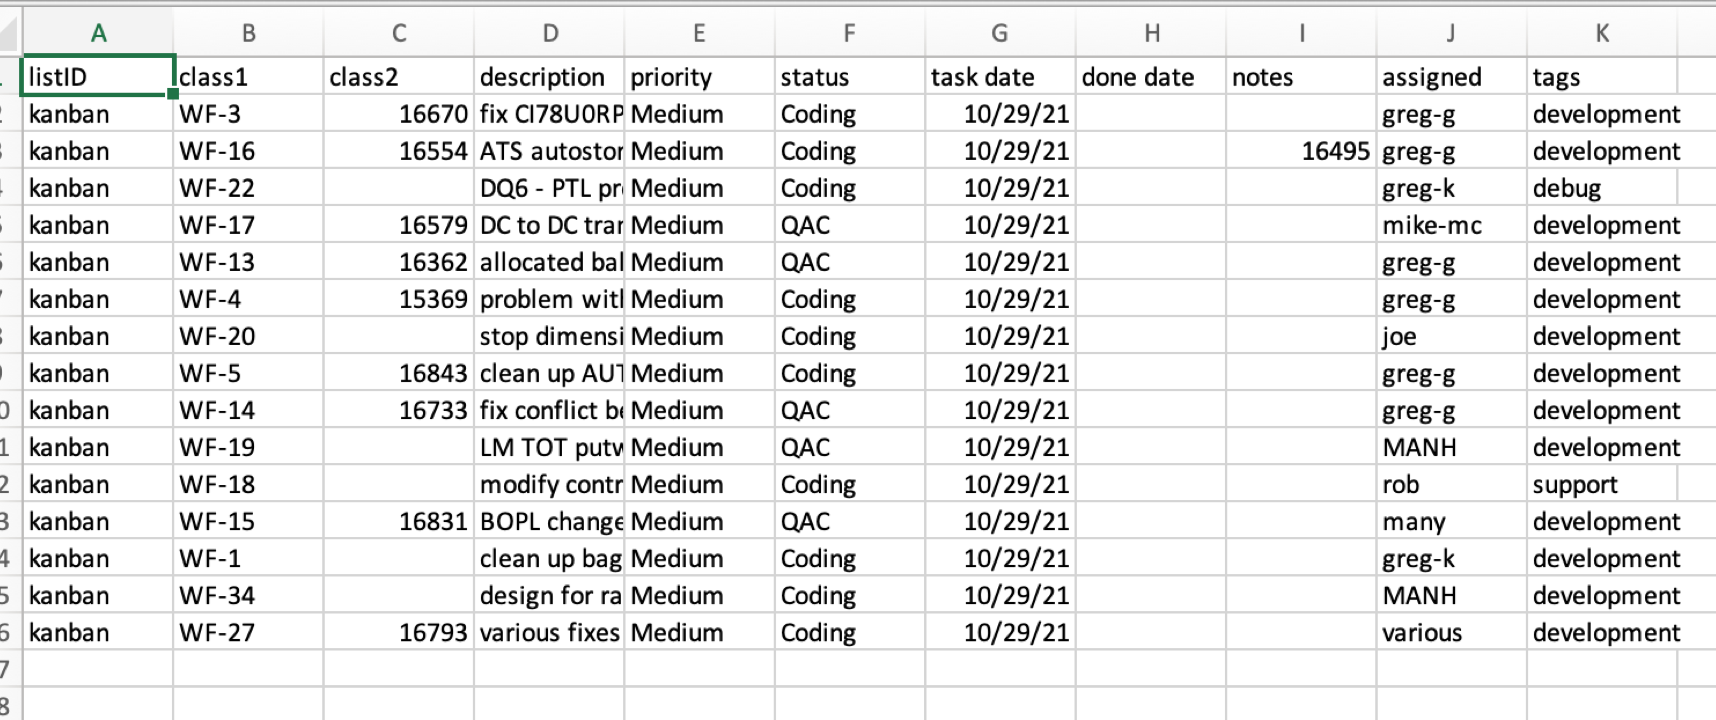
The upload process does not care what the names are in the header line, if you choose to use one. However it is important that the columns contain the information as specified below.
ListID - the name of the list which the tasks will belong to
class1 - this is the first ID field of the new task
class2 - this is the second ID field of the new task
description - description you want to use on the task
the example is small and compressed but it will take any size data you wish
priority - priority of the new task
status - status of the new task
task date - task date of the new task
done date - completion date and time when the task was completed
notes - note field entry - again can be as big as you like
assigned - assignment field of the new task
tags - set of task (separated by a semi-colon) assigned to the new task
There are two important check boxes on the import processing screen. The first is the ‘header titles’ check box and will tell the import process to ignore the first line in the CSV file as it will contain header data that you don’t want imported.
The second check box is concerning about tags and editing tags. If this check box is checked, the tags on the new task will first be checked against the existing tag set loaded in the application. If the tag exists already, it will pass the edit. If the tag does not exist and the checkbox is turned off, the import process will stop, roll back all of the new tasks out of the database, and inform you which line has a bad tag and what the bad tag is. You can then fix the data and try again. If the check box is turned on and the tag does not exist into the database, it will be added into the database along with the new task.
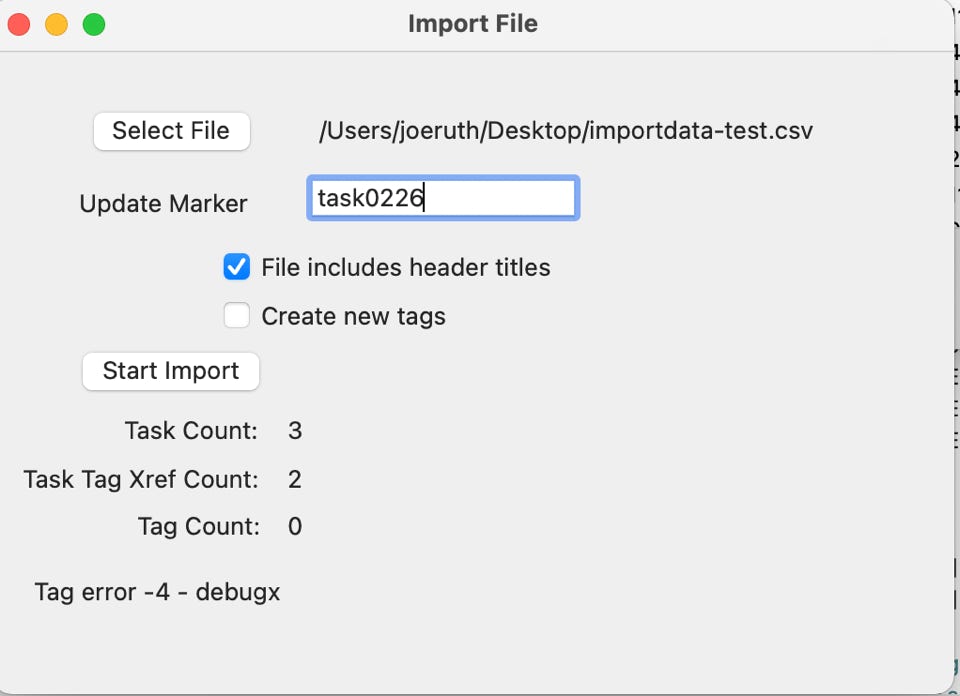
The following example is the result of an import with a mismatched tag. It shows the line of the spreadsheet with the error and the bad tag name which is ‘debugx’,
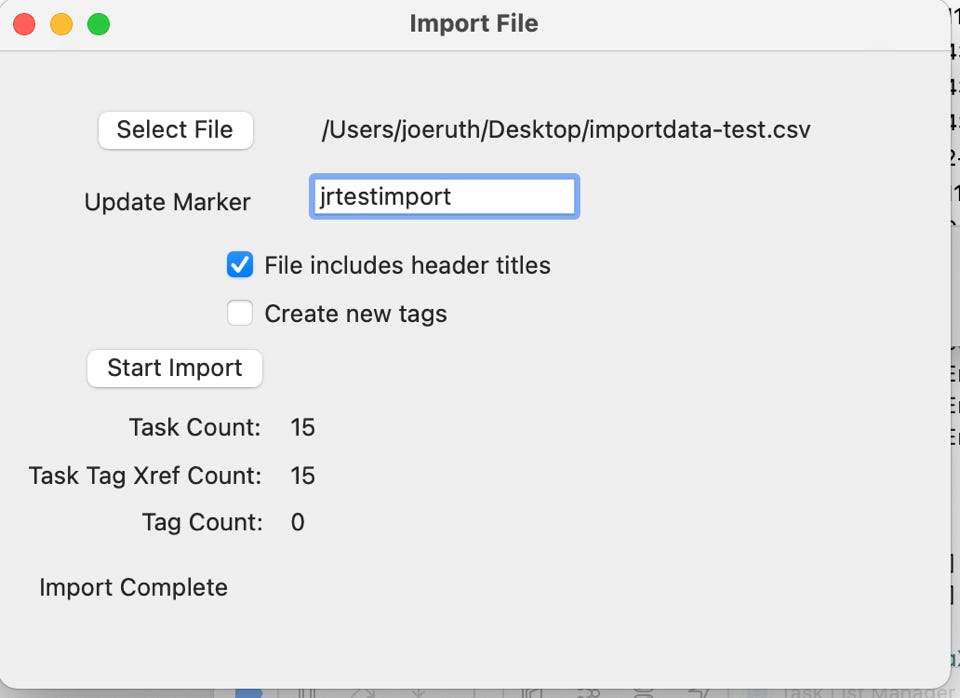
Another important feature is the ‘Update Marker’ text box. The entry into this field should really be a unique data entry (best without spaces) that can be used in the next option to remove those tasks you just added into the database without having to manually delete them and undo any other updates. This allows you to do an import, clean up the rejects one at a time as they are encountered, try the import multiple times until it’s clean and then, if you don’t like the results after all that, roll the entire update set back out of the database like it never happened. The next option that is reviewed ‘Undo Import Tasks’ will make that happen.
Finally counts and an import finished message are produced when the import completes without any errors.
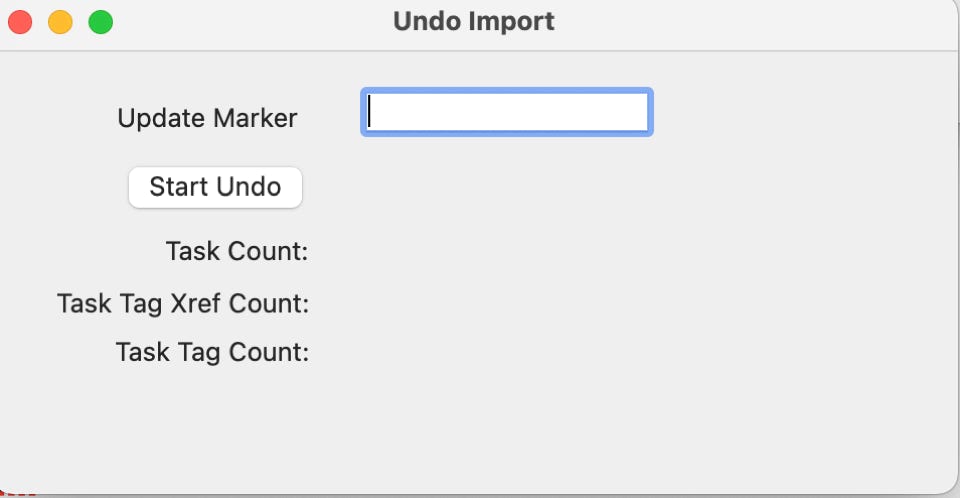
UNDO IMPORT TASKS
The next option on the list is the ‘Undo Import Tasks’ function and is the undo companion of ‘Import Tasks’ and allows you to easily and repeatedly import a list of tasks, delete them, and try again until you have what you want.
Taking this function will show the following screen:
Let’s assume that we just did an import and the final import screen looks like this:
The import was successful but when you go back and look at the your main task list, you decide that no, you really didn’t want to do that import. Taking the Undo Import option will show you a blank screen which you can fill out with the Update Marker used during the import:
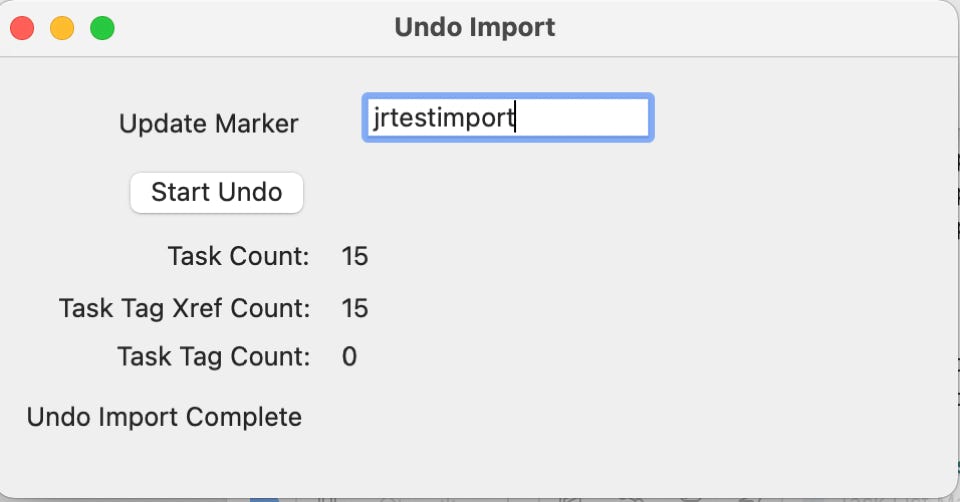
This screen shows that the import was rolled out of the database and everything is back to what it was prior to the import.
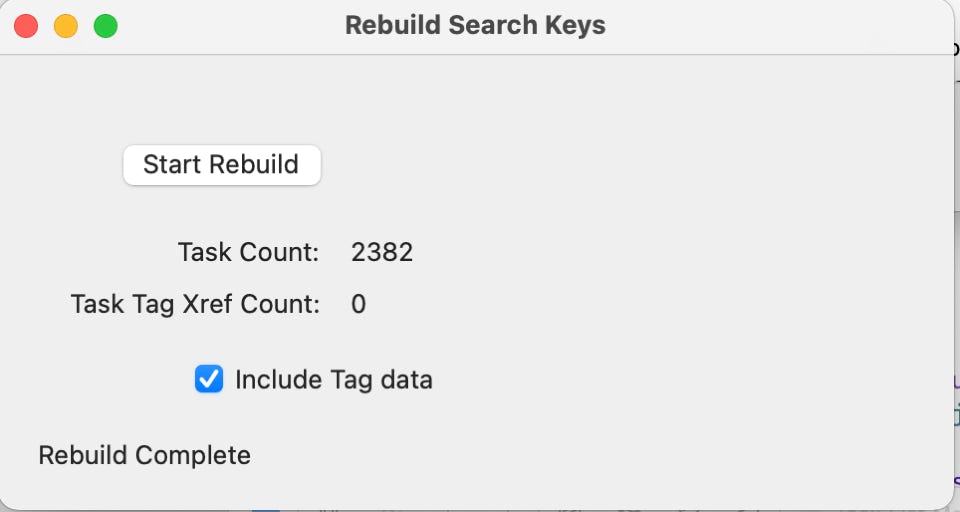
REBUILD SEARCH KEYS
The next option rebuild supplemental search keys which make searching by combinations of data across task fields and/or tag values work. Future versions will probably update this data automatically as tasks are added but for now, it needs done in a separate sweep step.
This step causes those combined search fields to be calculated and saved.
Take the Rebuild Search Keys option under the Database tab at the top to start the process:
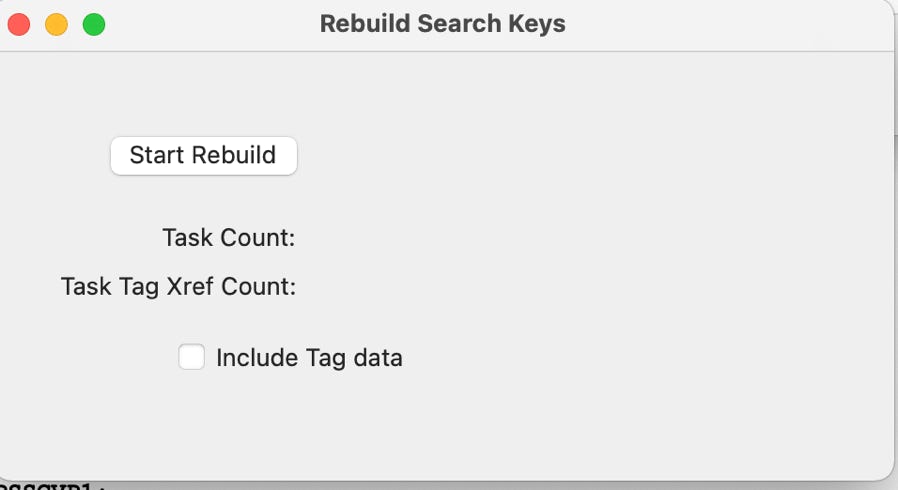
Check the ‘Include Tag data’ box to include the tag data in the rebuild if you like. Once you click the ‘Start Rebuild’ button, the process will begin. Some status information will flash into the screen as the rebuild continues and finishes like this: